|
Welcome to Kate's Math Lessons!My mission is to make life easier for secondary math teachers.
|
|
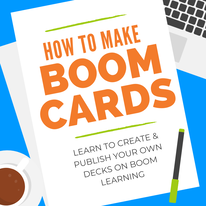
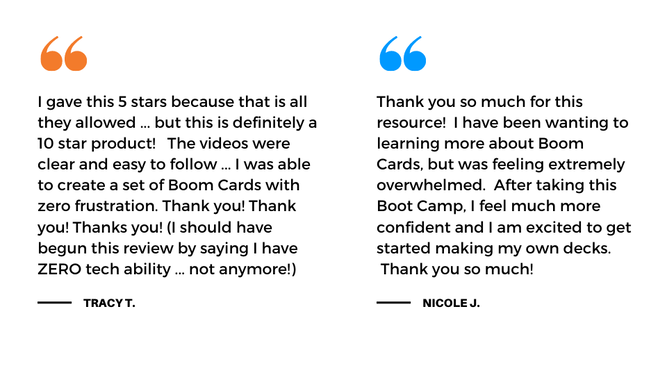
Want to know how to make your own Boom Cards™ and aren't sure where to start? (What are Boom Cards?) I made a lot of mistakes and spent way too much time watching YouTube videos when I first started making my own Boom Cards. So much so, that I decided to create a course to help other teachers who were also struggling with the process. 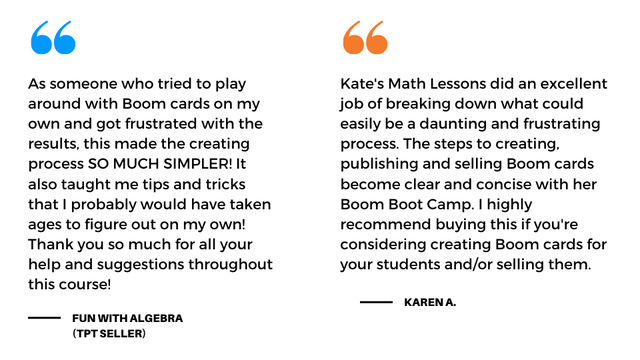 
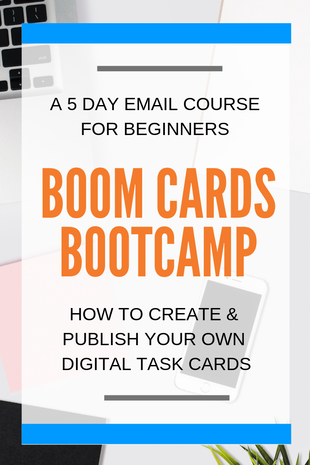
 This course will walk you through the basics of Boom Learning and help save you time and confusion about how the process works. In the email course, I walk you through the process of creating and publishing your own decks and break it down into manageable steps. The Course Includes:
By the end of the course, you'll have all you need to create your own customized decks, publish them to the Boom Learning Store, and start earning some extra money for all your hard work! F.A.Q. about Creating Boom CardsQ: Is this course for elementary or secondary teachers? A: Both! I've had a wide variety of teachers complete this course. The course shows you how to use the interactive features to create Boom Cards, the content and images you use are completely up to you! Q: Which programs do I need to make Boom Cards? A: Whichever program you're most comfortable with! You can create your background images in any program you'd like and insert them into your Boom Cards. All of the interactive features like multiple-choice and drag-and-drop questions will be created within Boom Learning's platform. Many teachers use PowerPoint or Keynote to create their images, but it doesn't matter which program you choose to start the process in. Q: Do I have to pay to use Boom Cards? A: You can use the free account to assign Boom Cards to your students and can make up to 5 decks of your own. If you'd like to make more than 5 decks or if you'd like to sell your decks, you'll need to upgrade your account. Most sellers quickly make back this investment!  Kate's Math Lessons is an independent company and is not affiliated with or endorsed by Boom Learning.
0 Comments
4) Scroll down to the bottom and click on the green "Show me free stuff!" button. You can type in a specific topic in the search bar or refine the results by subject and grade level. 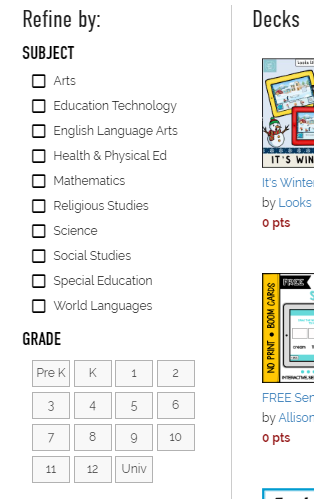
5) Click on the deck of cards that you would like to use and click on the Add to Library green button. Don't forget you can preview the first 4 cards of any deck - make sure to click on full-size preview to see how they work. Check out my free Order of Operations deck to see an example. 
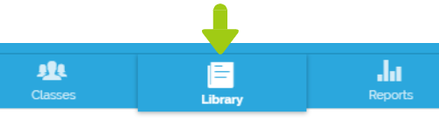
6) Next, click on Classes. You can now enter your name and picture (if you want). 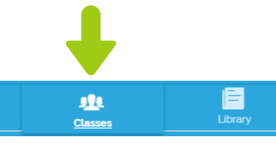
You may notice here that the membership information says you only have 5 students. Don't worry! You can always use the FastPlay option for free! I'll go into detail later on in the post, but there's a way for students to use the cards without needing to log in. The free plan includes unlimited FastPlay for as many students as you need, but it doesn't record their scores. If you want to be able to see reports for students or create your own decks, you can upgrade your membership plan (and currently at $15 a year for 50 students, that's not a bad deal if you ask me).
7) Create a classroom. Click on the blue "New Classroom" button at the bottom. It will automatically create a name based on what you entered in your profile. You can click on it and change it to Mrs. Smith's class, 1st period, Algebra 1, or whatever you would like to call the class. You can also change the username and password for your class. 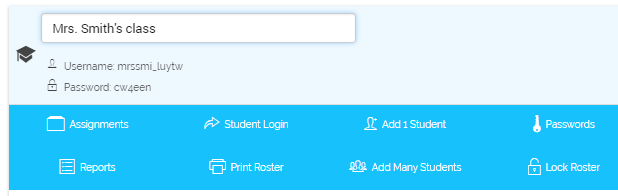
8) Add students to your classroom. Option A: Add the students yourself. This is probably the best option if you have young students or only a few students. You can do this by clicking on "Add 1 Student" if you want to enter one at a time, or on "Add Many Students" if you want to add several at once. If you choose the second option, you just enter the names separated by commas and create a default password. Students can change this password when they log in (don't worry, you can reset it for those that forget their password!). Option B: Let students create their own accounts! I would recommend this option if you have older students. It's especially nice if you have a lot of students and don't want to type in all their names! You just share the classroom username and password with your students (write it on the board, post it in your Google classroom, etc.). Students go to Boom Learning just like you did, but they go to where it says Students and choose "Create Student" to make their own account. 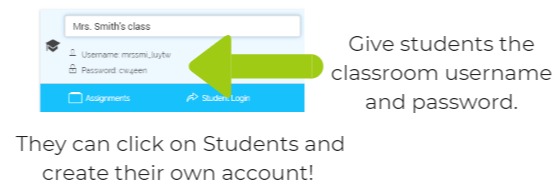
After they've entered the classroom username and password, they type in their name and create their own password.
9) Assign decks to students. So easy to do! Go to your library and find a deck that you want students to complete. If you click on the blue "Action" button by the deck, it will give you several options to choose from. (My Rounding Decimals deck is also free if you're interested.)
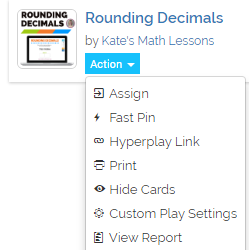
Assign: Click this to assign the deck to students. You can assign it to one class or multiple classes (or to individual students). If you choose this option, it will record student scores.
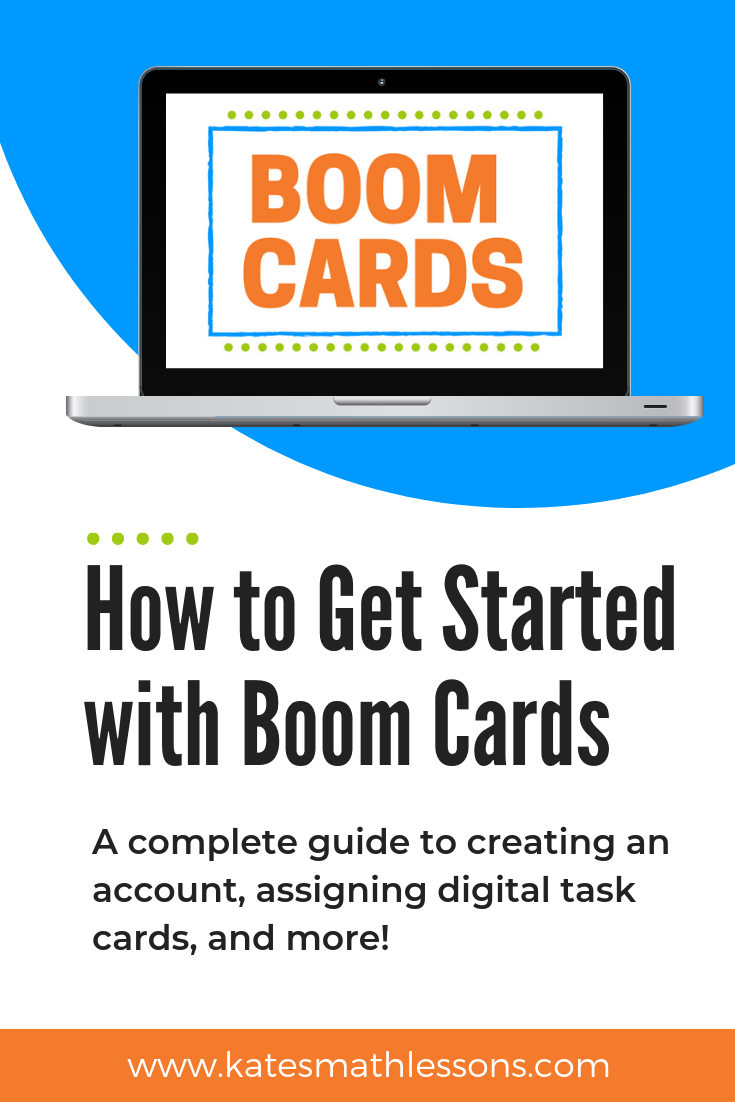
Fast Pin: Use this option if you want students to practice and don't want to record their scores. It will give you a link that students can use without needing to log in. Once students have this link, they click on the FastPlay option at the top and type in the pin to start. Hyperplay Link: This gives you a link that will prompt students to log in and then play will begin. Grab this link if you want to post it in Moodle, Google Classroom, etc. Print: Click this if you want to print a hard copy of the cards. Hide Cards: Use this if there are any cards in the deck you don't want students to see. Great option if the deck is too long or if there are cards that aren't quite what you were looking for and you don't want to assign them to students. Custom Play Settings: You can adjust the number of cards that students see here. Note that this option does not work with FastPins. You'll need student accounts for this option. Hope that helps you get started! -Sarah P.S. Want to learn how to create your own decks of Boom Cards? Check out my Boom Cards Course! It includes 18 short video tutorials and 100+ images you can use in your own decks! 
|